Showing posts with label Chalkboard. Show all posts

12.07.2016

Chalkboard Christmas Countdown

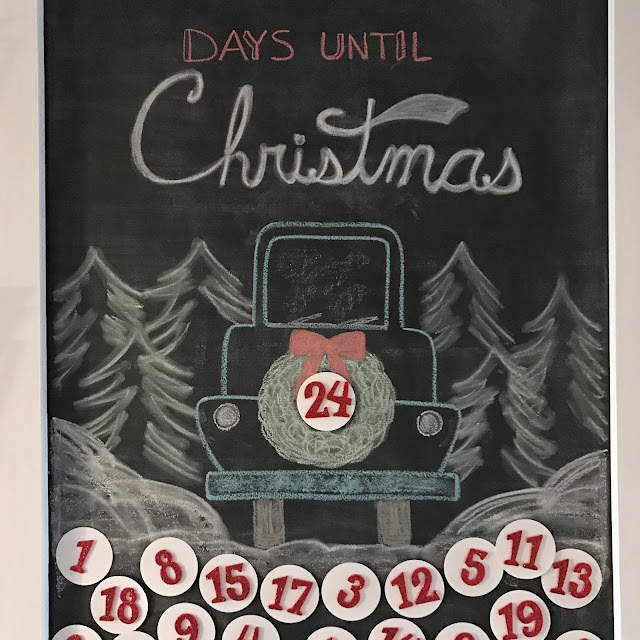
If you follow me on Instagram, then you've seen my latest Chalkboard chicken scratches Art!

Chalkboard Christmas Countdown - LeroyLIme

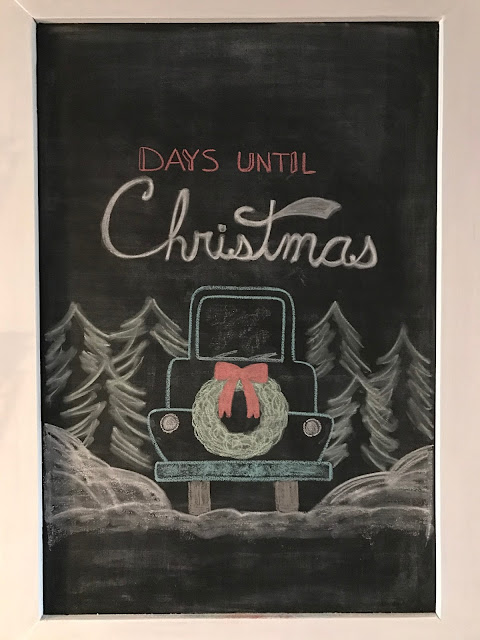
I freehanded, rather quickly I might add because I was running out of natural light and it's hard enough to get a photo of our chalkboard since you practically have to climb inside the pantry to do so! It's across from our pantry in a small walk through hallway.

Chalkboard Christmas Countdown - LeroyLIme

I wanted to reuse the magnetic snowball numbers I had made from our Olaf Disney Countdown last year, so was looking for something with a round shape that I could put them in. I have an entire board full of Chalk Art on Pinterest, so turned to that for inspiration before I got started. 

The truck with a wreath was perfect, if you want to see the original, Jenn who blogs over at Clean and Scentsible is the original artist. I just looked at hers on my phone, while sketching and created my own little Pinterest knock off!

Chalkboard Christmas Countdown - LeroyLIme

Tips for creating your own chalk art : Make it your own & have fun! Keep a pencil sharpener handy to create a nice outline. Turn your chalk sideways to fill in large areas. Use your finger or a Q-Tip to blend away harsh lines and fill in small areas.
Chalkboard Christmas Countdown - LeroyLIme

Above the words, I now have envelopes for each of our children, they are doing extra jobs/chores around the house to earn money for Christmas presents...

Chalkboard Christmas Countdown - LeroyLIme

Christmas will be here before we know it!

12.07.2015

Olaf Disney Countdown

Look how fun....Summer!!!

Olaf Disney Countdown - Freehand Chalkboard Lettering and Art - LeroyLime

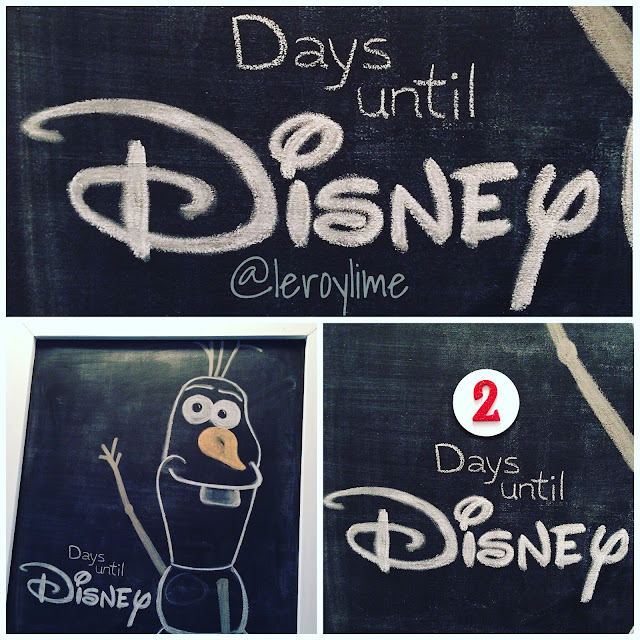
A quick wipedown and free hand drawing on the magnetic chalkboard
and we have a happy little snowman helping us countdown to Disney!
Olaf is a favorite in our house and our two year old calls him "Summer"...
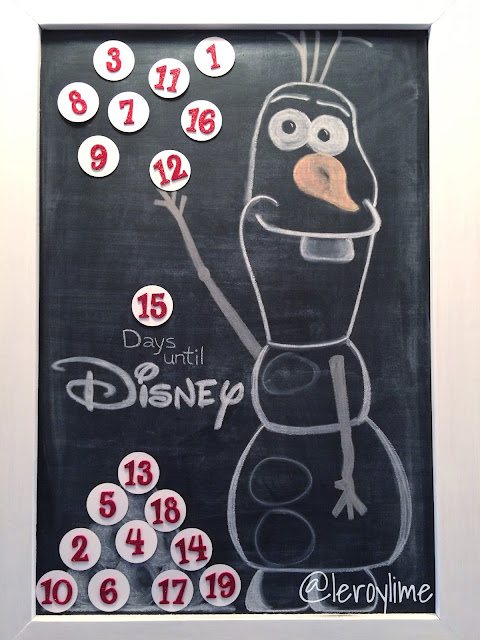
With my Ipad in one hand for visual purposes, I free handed Olaf and lettering with regular chalk. I find that keeping your chalk sharpened helps with more precise lines. You can just use a regular pencil sharpener. I keep one in my chalk box so it doesn't grow legs and run off.  No orange chalk for his nose, so I just layered red and yellow till it looked a bit on the orange side. Grey was also used for his arms and hair since brown chalk wasn't in my box. Another helpful trick when you are drawing or lettering on your chalkboard. Rub your finger over your lines to soften them up a bit. This also helps with shading, since you can pull the chalk with your finger.

Olaf Disney Countdown - Freehand Chalkboard Lettering and Art - LeroyLime

Next I took my 2-1/2" Circle Punch and cut out some white circles for snowballs. Made some sparkly red numbers with my Sizzix dies and Big Shot and then attached a small piece of magnet strip to the backs to make them magnetic and easily moveable on the board.

Olaf Disney Countdown - Freehand Chalkboard Lettering and Art - LeroyLime

My hubs said he was more impressed with my Disney lettering than Olaf...haha!
I apologize for the lighting, the chalkboard is directly across from our pantry in a hallway and doesn't get natural light.

I hope you enjoyed and are inspired to give freehand chalk drawing and lettering a try, it really is much easier than you think!

Olaf Disney Countdown - Freehand Chalkboard Lettering and Art - LeroyLime


5.27.2015

DIY Magnetic Chalkboard


DIY Magnetic Chalkboard


If you're not a fan of a messy fridge and you have
a blank wall just begging to be beautified, a DIY 
magnetic chalkboard just might be in order.

My dear hubs doesn't like clutter (which is why
we are a perfect match) and so, to drive this DIY to
the finish line...I started to "clutter" up the space where
I wanted the magnetic chalkboard to go, by taping
the kids artwork and school papers to the wall with
Washi Tape...it worked!

DIY Magnetic Chalkboard


Shopping List:

2-1X4 Pine Fence Boards
3X2' Sheet of 1/4" thick Aluminum
Black Chalkboard Paint
(Leftover) White Paint

DIY Magnetic Chalkboard

He started by cutting the fence boards down to size 
and adding angles for the corners. Clamped it all 
together and then painted the metal board with several
layers of Chalkboard Paint. The frame was painted 
white with some leftover paint. The magnetic
chalkboard is held behind the frame with metal 
brackets on  each corner and he also taped around the 
board, so the back would be smooth. Heavy duty metal
hangers hang this heavy duty project straight into
the studs. We had the metal filing baskets and added 
them to the wall for extra school papers.

The frame size is 42-3/4" X 31" but you can
customize it to fit your space.

The perfect way to organize all the papers and crap 
from collecting on the counter, yipee!

DIY Magnetic Chalkboard