You can never have too many coffee mugs — until you realize your cupboard is packed to the brim and you find yourself praying they don’t come crashing down every time you open the cabinet door. When it's time to declutter and get organized, find a new purpose for those unused mugs by making a coffee mug herb garden.
This is a great way to repurpose old dishes while keeping fresh herbs in your kitchen ready to be used for delicious meals. Get the kids involved and make it a fun DIY party that they are sure to enjoy! Read on to find out how to make your own mug herb garden and find inspiration for your next project.
Gather All of the Necessities
With a few simple materials, you can create an atmosphere where your herbs will thrive. These simple mug herb garden materials will create long-lasting herbs that you will love all summer:
A fun mug
Soil
River rocks
Decorations if you feel like giving the herb some character
Locate a Sunny Spot
When thinking about what spot in your home is best for your herbs, consider a few options before closing in on one space. This area of your home could be your kitchen, a windowsill, or anywhere with proper access to sunlight.
Popular Herbs to Grow
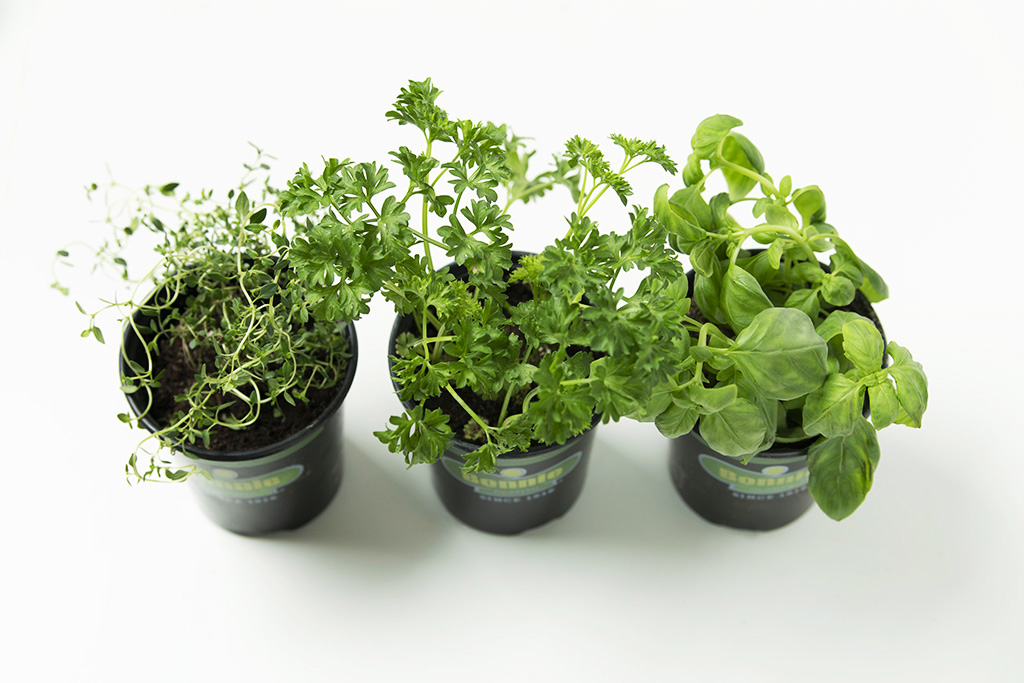
While you may not be an expert on growing herbs, there are a ton of easy, fast-growing plants that you can choose from. As long as you have the proper nutrients and a supportive atmosphere, your herbs will be growing in no time.
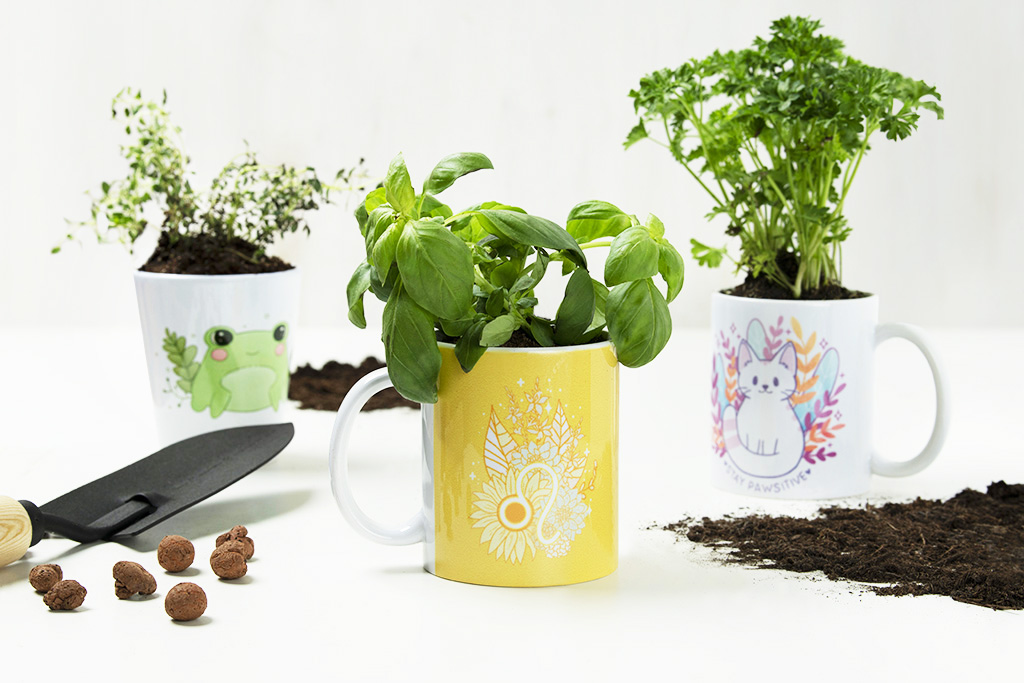
Make sure that you choose a mug that will support the growth of the herb. For instance, tall herbs like basil need a deeper mug while bushy herbs like parsley thrive in wider mugs. Here’s a list of some of the more popular herbs to grow indoors:
Basil
Mint
Thyme
Cilantro
Rosemary
Parsely
Chives
Dill
Pick your Mug
Time to choose your favorite mug that your herbs will be growing inside. This can be an engaging part of the growing process if you choose to purchase a mug or use a mug that has been pushed to the back of your cabinet. It’s all up to you!
Plant Your Herbs
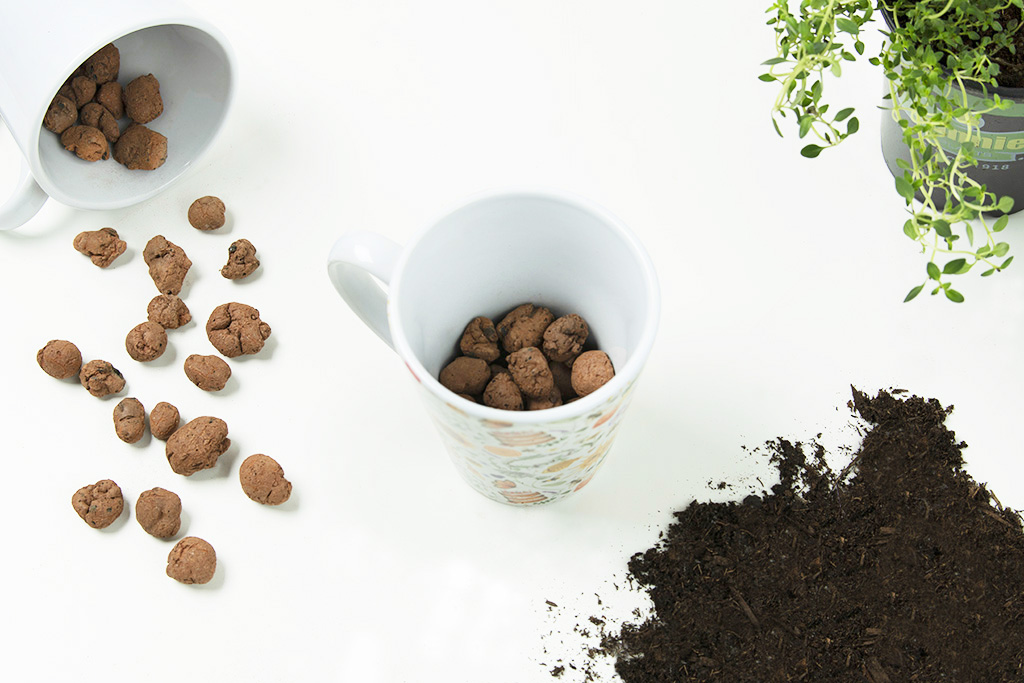
Add your soil to the mug about half an inch from the top. You will want to make sure that this is evenly distributed throughout the mug to prevent the mug from tipping over.
Tease the roots of the herbs if you are using baby herbs and add a bit of water after the roots have been planted. River rocks will add a bit of irrigation for excess water.
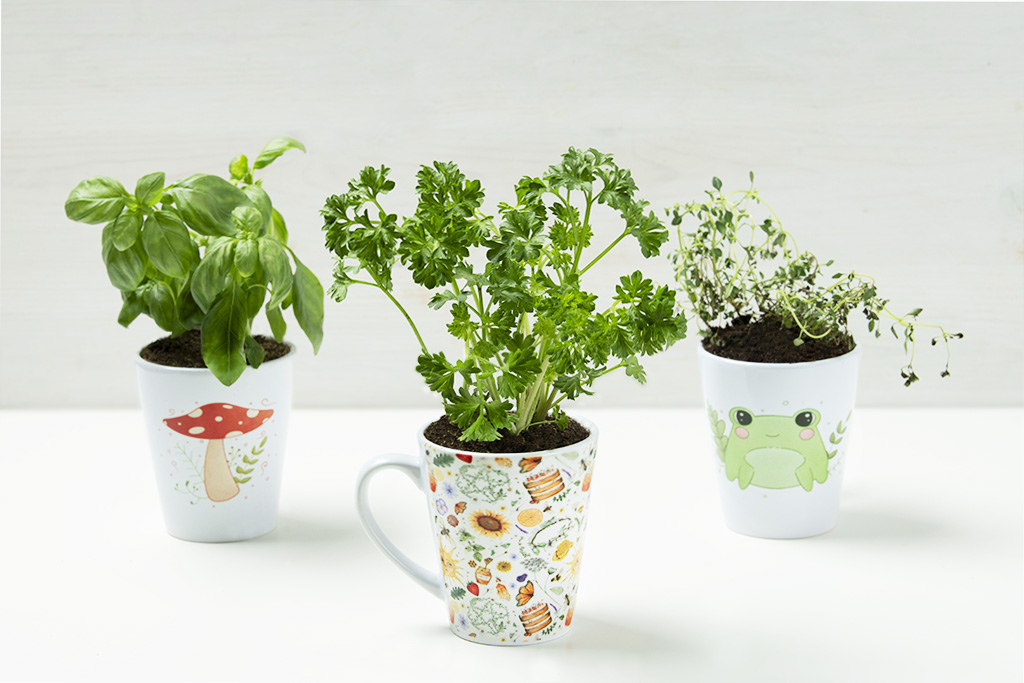
Decorate and Label Your Herbs
With your location chosen and your herbs budding, you can decorate this area or decorate your mug however you choose. You can go crazy with paints or designs on the outside of the mug as long as you do not disrupt the herb.
Your kids could even take turns coloring the outside of the mug and grow their own herbs to be used in your famous dinner dishes. Use these printable herb labels that you and your kids will love and look forward to growing more plants this summer.
No comments:
Post a Comment