Showing posts with label #christmas. Show all posts

12.16.2021

Home for the Holidays

It's that time again! Time to lug those bins filled with pretty shiny things out of your attic, garage or closet. Time to put away your everyday decor and fill every nook and cranny with shiny ornaments, green sprigs, berries, stockings, holiday trees, winter fun and more! 

Time for baking, daily Christmas music, cozy sweaters, Hallmark movies, hot cocoa, blankets on the couch. Traditions, shopping, wrapping, list making, holiday parties, Christmas performances, that fill our days sometimes with stress but hopefully more smiles than frowns. 


A time to rejoice, reflect and take moments to just be still. Don't forget to take those moments because all the hustle and bustle is only there if we let it consume us. Remember what this season is really about, it's oh so easy to forget. As much as we like to give, Jesus gave it all! Happy Birthday to Jesus and Merry Christmas to each and everyone of you! 


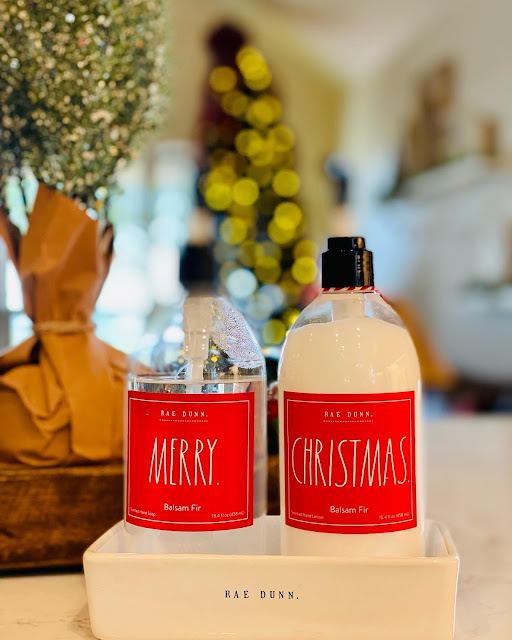
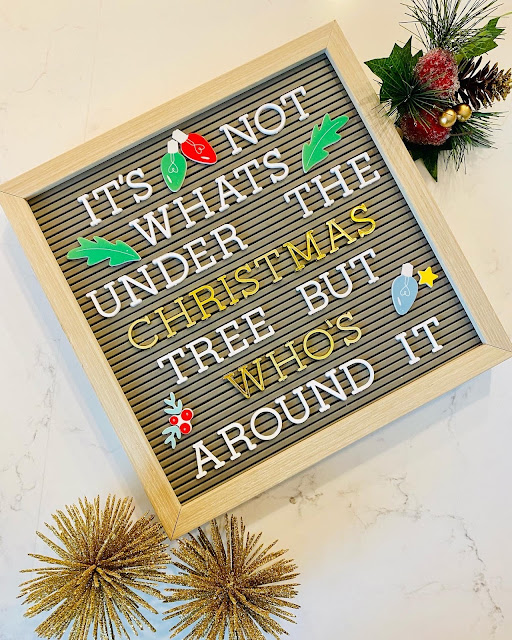
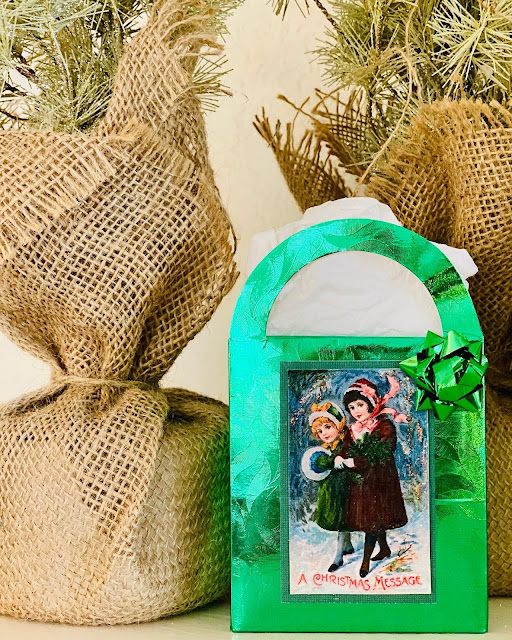
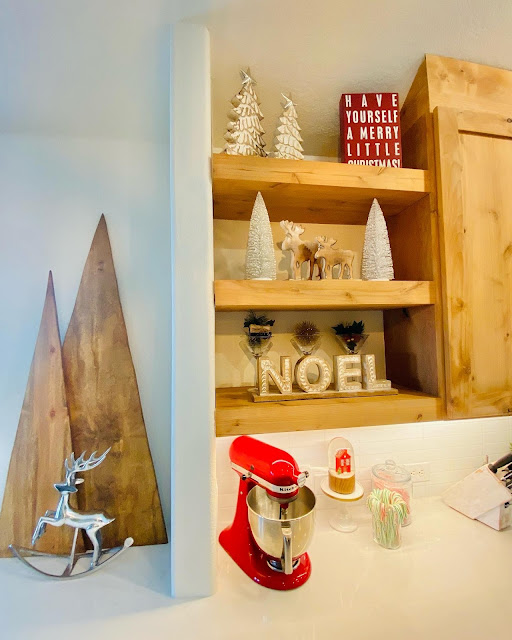
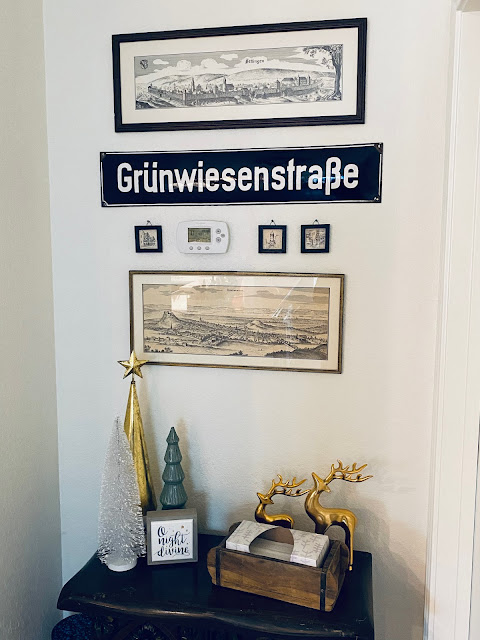
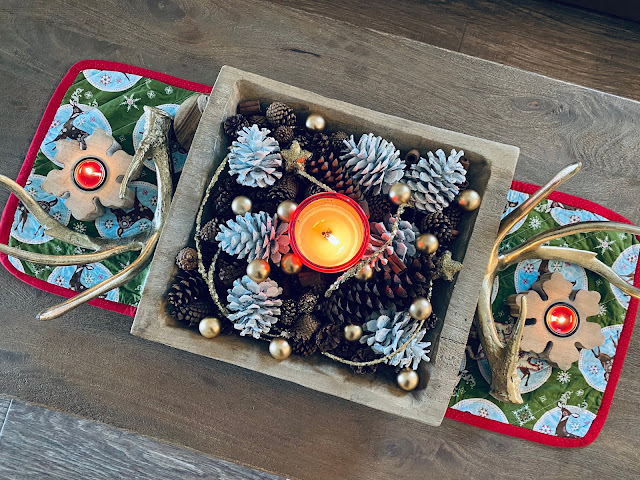
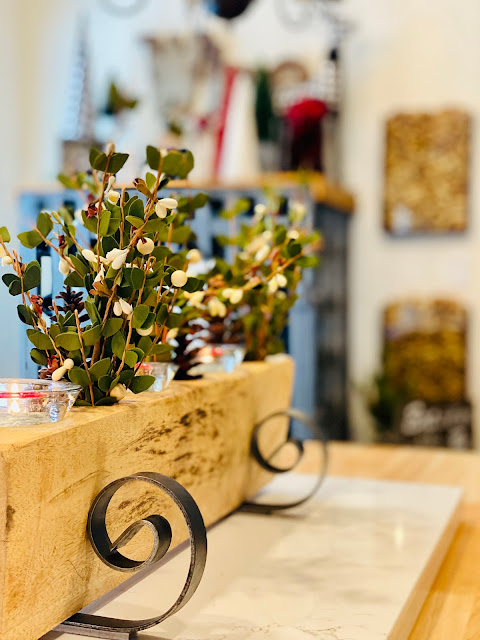
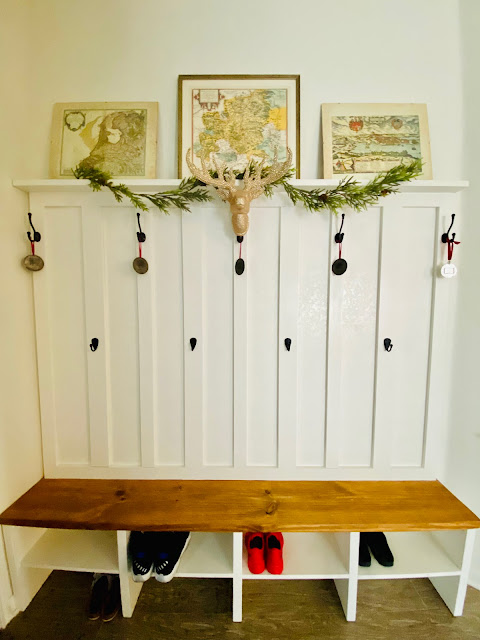
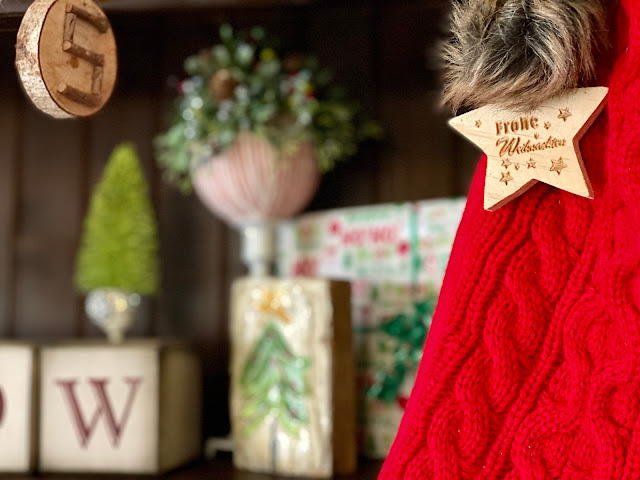
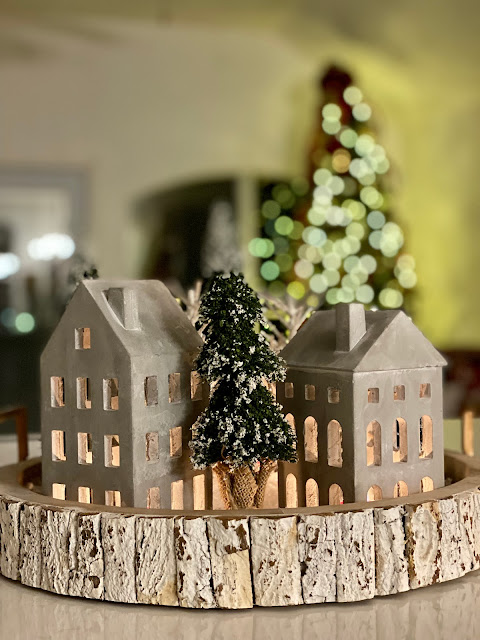
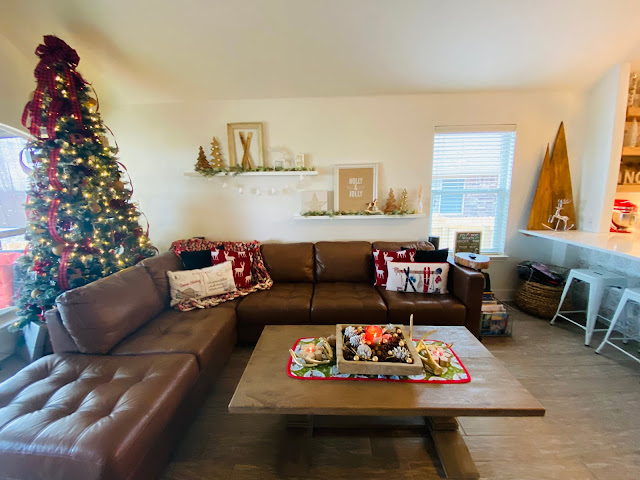
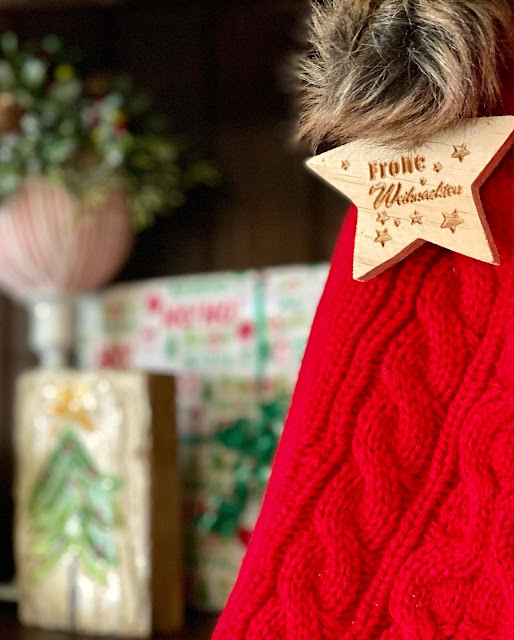
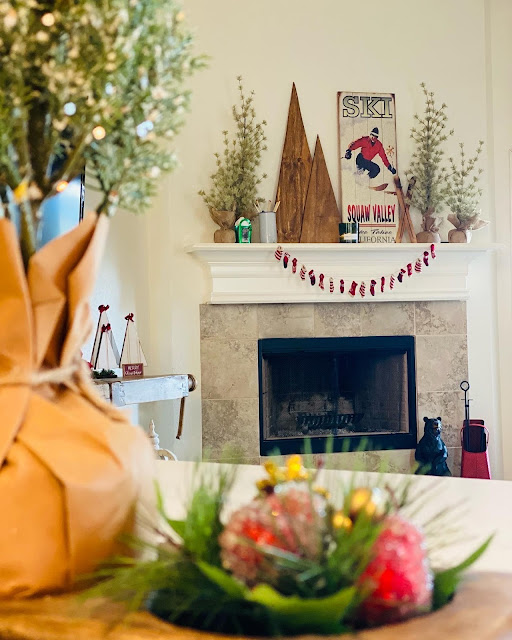
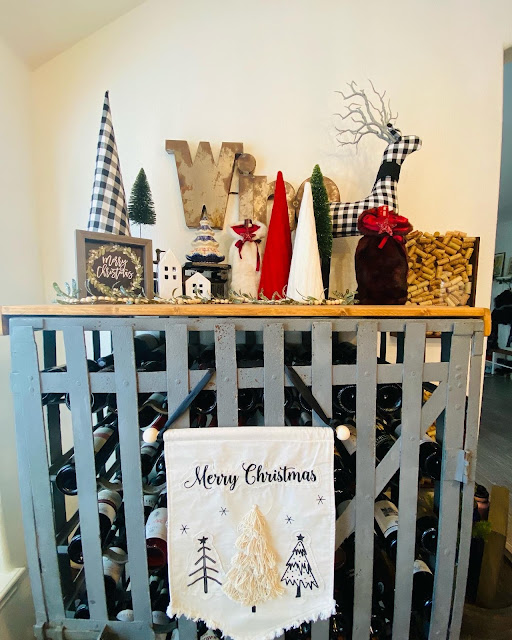
Please enjoy this festive photo dump! 


12.14.2017

DIY Mason Jar Snow Globe

Working on festive arts and crafts projects with your kids is the perfect way to get into the holiday spirit! It’s double the fun when the project can also be used as an adorable Christmas decoration or special holiday gift! 


This mason jar snow globe is so unique and is the perfect holiday craft to squeeze in before Christmas. Shutterfly’s step-by-step guide breaks the project down into 7 easy steps, making it super simple for the kiddos to get involved in the holiday crafting fun. Once finished, the snow globe would be the perfect Christmas present to pair with your holiday card to friends and family. There are so many creative ways to customize these snow globes that I know you will want to make more than one!


12.07.2016

Chalkboard Christmas Countdown

If you follow me on Instagram, then you've seen my latest Chalkboard chicken scratches Art!

Chalkboard Christmas Countdown - LeroyLIme

I freehanded, rather quickly I might add because I was running out of natural light and it's hard enough to get a photo of our chalkboard since you practically have to climb inside the pantry to do so! It's across from our pantry in a small walk through hallway.

Chalkboard Christmas Countdown - LeroyLIme

I wanted to reuse the magnetic snowball numbers I had made from our Olaf Disney Countdown last year, so was looking for something with a round shape that I could put them in. I have an entire board full of Chalk Art on Pinterest, so turned to that for inspiration before I got started. 

The truck with a wreath was perfect, if you want to see the original, Jenn who blogs over at Clean and Scentsible is the original artist. I just looked at hers on my phone, while sketching and created my own little Pinterest knock off!

Chalkboard Christmas Countdown - LeroyLIme

Tips for creating your own chalk art : Make it your own & have fun! Keep a pencil sharpener handy to create a nice outline. Turn your chalk sideways to fill in large areas. Use your finger or a Q-Tip to blend away harsh lines and fill in small areas.
Chalkboard Christmas Countdown - LeroyLIme

Above the words, I now have envelopes for each of our children, they are doing extra jobs/chores around the house to earn money for Christmas presents...

Chalkboard Christmas Countdown - LeroyLIme

Christmas will be here before we know it!

1.15.2015

DIY Chalkboard Art Freehand - Jingle All the Way

DIY Chalkboard Art Freehand

Since we just took down our tree and Christmas decor this past
weekend, this post is the perfect way to finish up the holidays
this season. Christmas can still be in January, right?!

This chalkboard is an oldie but goodie. My Great Aunt
taught me K-2nd grade and we each had our own chalk
boards in our desk. Dominos, flash-cards, chalkboards, 
these are the things that built my early education
(and no, it wasn't a little one room school house).

Now of course, until Pinterest and of course the internet,
I had NO idea you could actually sharpen chalk, wow!

No printer ink, no lines, no tracing...I hand sketched
and RE-sketched. Colored and RE-colored, Wiped and RE-wiped
until I was able to come out with the letters I was looking for.

DIY Chalkboard Art Freehand

I'm a lefty too, so until Sharpie fine tipped markers
came around, I've had the mark of a right brained
person on my left hand. In purple ink, pencil, marker,
you name it...I made sure to not let my hand rest
on the chalkboard while I was sketching, now
that would've been a disaster!

DIY Chalkboard Art Freehand

DIY Chalkboard Art Freehand

DIY Chalkboard Art Freehand

I added a bit of holly and berries at the end, they added
just the perfect touch of color without taking away from
the lettering.

DIY Chalkboard Art Freehand

DIY Chalkboard Art Freehand

Did you try your hand at any chalk lettering over
the holidays or any other time? Add your post link in
the comments, I'd love to see your creations!


1.03.2015

Holiday Teacher Gifts

If you're looking for a one of a kind teacher gift, look no further
than a personalized stamp! I picked up these beauties from
Pick Your Plum and the teachers LOVED them!

Holiday Teacher Gifts

Of course Target has some amazing pens, mini clipboards,
pads of paper, mini note pads and much more. 
I love to 'theme' our gifts and of course when they 
match, all the better!

Holiday Teacher Gifts

If you've got a budding artist on your hands, have them
draw a picture of their teacher and frame it, a true
one of a kind gift that will be cherished...

Holiday Teacher Gifts

A simple but fun (and not so Christmasy) tag for 
the bag filled with all sorts of goodies. I didn't include 
them all in the photos but some new lip balm, nail polish,
treats, tea...anything that you yourself would love
to receive, is a thoughtful gift for someone who
spends a great deal with your child throughout 
the year. Remember it's not about price but
more about thought...

Holiday Teacher Gifts

I made a few note card with the stamps for each teacher
and clipped them to the mini clipboards, so they are 
ready to use as a thank you or note.

What are some of your favorite teacher gift ideas or
memorable items you've received from your students?

12.12.2014

DIY Winter Vase

DIY Winter Vase - Glitter Project - LeroyLime

I picked up some white carnations yesterday but
realized I didn't have a holiday vase to put them in.
No worries, a little mod podge & glitter to the rescue!

DIY Winter Vase - Glitter Project - LeroyLime

I pulled a scrap of red ribbon from my jar, tied it
around the top and snipped off the ends. A simple
tree paper punch, stuck to my jar with scrapbook
adhesive and then I decided it needed more sparkle.

Soooo...A quick paint job along the bottom half
of my mason jar with the Mod Podge. I sprinkled
some glitter (over a plate) and then set it 
upside down to dry. The unused glitter easily slid 
back into the container when I pinched the side of
the paper plate and shook it in.

Super quick and easy...I just might be glittering
everything in our house (if I don't spray paint
it gold first, haha). Happy Glittering!

12.11.2014

DIY Holiday Money Banks


DIY Holiday Money Banks - An Upcycle Project, Felt Craft - LeroyLime


Mr. Banks doesn't have anything on these fun upcycled 
Holiday Money Banks. I made these for my kiddos 
since they were asking how they could earn money 
for Christmas gifts (and of course they needed 
something cute to put their money in) The best part, 
the banks double as Christmas decor!

DIY Holiday Money SANTA Bank - An Upcycle Project, Felt Craft - LeroyLime

I started by cutting out the patterns with felt and
laid the pieces on top of the empty scotch 
containers until I was happy with the 'look'.

DIY Holiday Money SANTA Bank - An Upcycle Project, Felt Craft - LeroyLime

Then the FUN part, gluing it all down...
since the hot glue hardens quickly, I found that
running a strip of glue along one side of the felt
and then rolling the container on top, to start,
worked best. Next I ran a strip along the top
and bottom, a bit in the middle (if you are quick)
and then I rolled the container on top using the 
weight of the container and my hands to flatten out
any bubbles. I left the end flap to glue down last
and then added another small strip, since the felt
didn't reach the entire way around my container.

DIY Holiday Money SANTA Bank - An Upcycle Project, Felt Craft - LeroyLime

Next the white trim pieces, first one, then
the other...

DIY Holiday Money SANTA Bank - An Upcycle Project, Felt Craft - LeroyLime

and finally the belt and holly. I attached the belt
the same as the larger red felt piece and then picked 
up the unglued end to wrap it in place. 

DIY Holiday Money SANTA Bank - An Upcycle Project, Felt Craft - LeroyLime

Next Mrs. Claus, isn't she sweet?

DIY Holiday Money MRS. CLAUS Bank - An Upcycle Project, Felt Craft - LeroyLime

I learned new tricks with each container
 and found that gluing the layers on before attaching 
them to the money banks worked best. For instance,
the felt buttons and pockets on the apron.

DIY Holiday Money MRS. CLAUS Bank - An Upcycle Project, Felt Craft - LeroyLime

and it wouldn't be Christmas without a Grinch in the
house, I know we have a couple here!

DIY Holiday Money GRINCH Bank - An Upcycle Project, Felt Craft - LeroyLime


I looked up a picture of the Grinch online and then 
free-hand cut out one eyebrow, laid it on top
of another piece of felt and mirrored the image  
and did the same with the eyes and eyeballs.
I was out of black felt but grey worked just fine.
Everything used for these projects I had on hand
so no last minute trips to the store...and if you don't
happen to have any scotch containers, you can 
always use a jar or can as well.

DIY Holiday Money GRINCH Bank - An Upcycle Project, Felt Craft - LeroyLime

The pom pom was a fun 3-D touch and the black
glitter glue was leftover from Halloween.

DIY Holiday Money GRINCH Bank - An Upcycle Project, Felt Craft - LeroyLime

My hubby cut slits in the tops of the containers 
with a tin snips and then filed down the sharp 
edges so no tiny fingers would be harmed. 

One of the ends of the scotch containers
opens up, so you could always use that to put
your money in as well, happy felting!
12.04.2014

DIY $2 Tree Topper


DIY $2 Christmas Tree Topper - LeroyLime


Yes, you read that right...a tree topper for only $2.00!!

I needed a topper for our red and gold tree in the sunroom/mudroom
but didn't want to pay out the nose for something that I might change up
the color scheme next year soooo, off to the Dollar Tree. 

I was actually looking for items for a different project but 
when I saw these stars, I knew exactly what I was going to
do with them. Pick up two identical stars. Mine are 3-D
and glittered to the max.

DIY $2 Christmas Tree Topper - LeroyLime

Make sure your glue gun is plugged in and hot and then
quickly run a strip of glue on each of the flat sides, then
stick your two stars together. Mine didn't want to stay
together at the corners, so I just worked with them one 
at a time and squeezed a bit of hot glue inside the little
ducks beak and then pinched them together. Worked
like a charm!

DIY $2 Christmas Tree Topper - LeroyLime

I was going to leave one side unglued but didn't
want my stars popping apart when I tried stuffing
the topper on top of the tree. Instead, I tied the star 
to the top with a piece of fishing line.

DIY $2 Christmas Tree Topper - LeroyLime